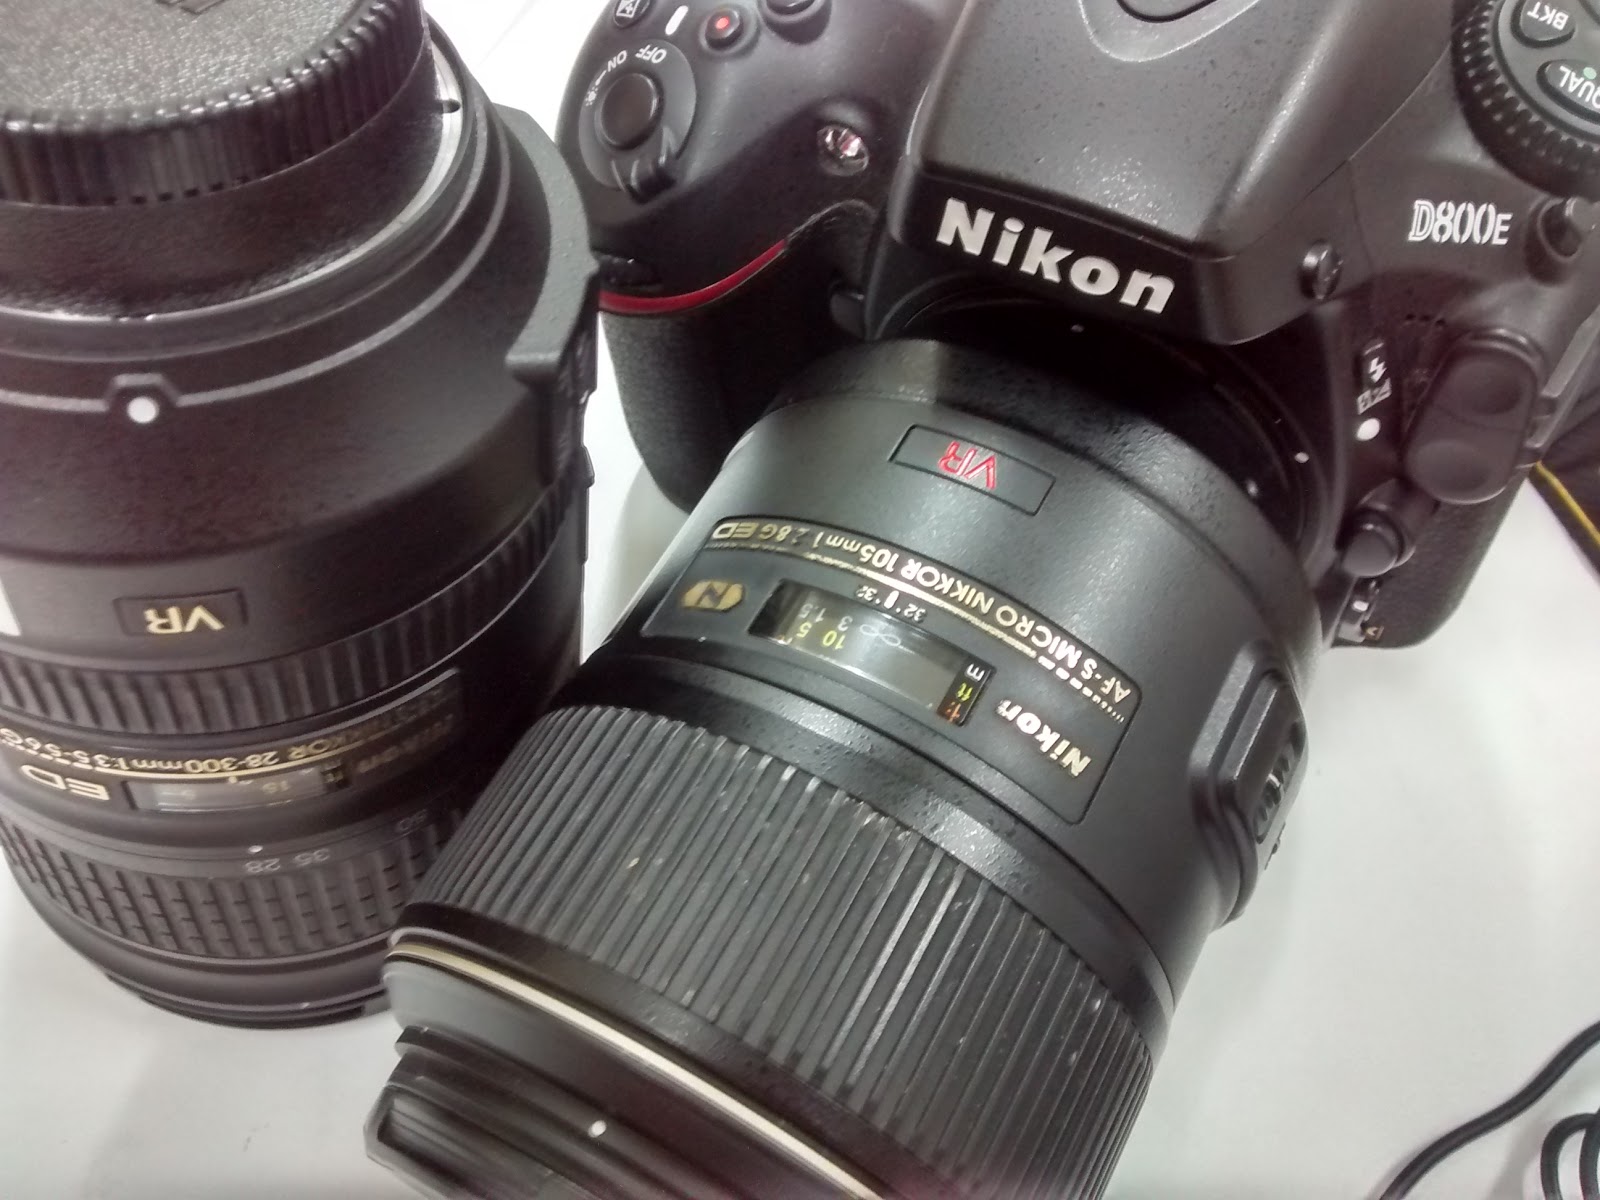
Get the camera
- Make sure the camera body is good. Hardware: high megapixel count and bigger sensor size
- Get a good ‘standard’ lense. (in the case of Nikon Coolpix P900 its unchangeable).
- Set Image quality to “RAW” & “L”. Menu>image size>RAW+L (or similar depending on model). Resolutions of 5000x8000 are ideal if it can be reached. If not whatever is the highest.
- Set ISO to 100. The less noise the clearer the picture when zoomed in. If you need to hand-hold your camera try raising the ISO up to 800. This will give you some more digital noise, but it will reduce camera shake.
- Switch on the grid and internal level meter if available.
- Set the camera to “aperture priority” (this will keep the aperture locked)
- Stop down to the middle f/stop for best sharpness. Set the aperture to f/8 or higher (this will put more of the image in focus). Try experimenting with the aperture setting. The bigger your aperture, the faster the shutter speed will be (less shake), but less of the image will be in focus. Remember that a larger aperture is a smaller number (i.e f/4.0).
- Set the white balance if shooting in jpeg or tiff (Tungsten, Fluorescent, Daylight, Custom)
- Set the camera to timer mode (this is to minimize camera shake). I.e. 2 seconds
- Switch the mirror to lock up if possible.
- Use manual focus and check pictures each time they are taken by zooming into and trying to read the words.
- Use bracketing to get multiple exposures so that we do. Bracket the shot by going up and down one stop with the shutter speed.
- Use the flash if necessary. However if it is too near, there will be strong glare.
Hanging The picture on the wall
- Place the map/sheet on a flat surface (like the metal wall of specimen cabinates) with a grey, black or white background. Use magnets to hold the edges in place.
- Make sure the art is level (using a bubble measure or a phone app with internal gyro)
- Measure up from the floor to the middle of the sheet. Take note of that height; you will need to set the middle of the camera lense to that hight later.
- Set up the photo taking place in an area with low traffic. (i.e not infront of a door, maybe the back of the herbarium).
Set up the tripod
- Set focal length to the standard (not telephoto or wideangle). This is to ensure that the sides do not warp with the lense rarefaction. I.e. 50mm. Can check the straight edges if they align parallel to the grids from previous step..
- Go back as far as needed to get the picture to fit in the frame without changing the standard zoom.
- Ensure that the photo is taken from the middle of the plane to be digitized (use the measurement from previous step)
- Switch on all available light sources (i.e fluorescent tubes). If the are in front of the picture it is better than them being behind. THe more even and diffused the better.
- When taking the pictures without a tripod, tuck your arms in close to your sides to give the camera the most stability as possible. Also try breathing out and then as you shoot the picture hold your breath (like sniping).
Below are images to help understand visually the setup:
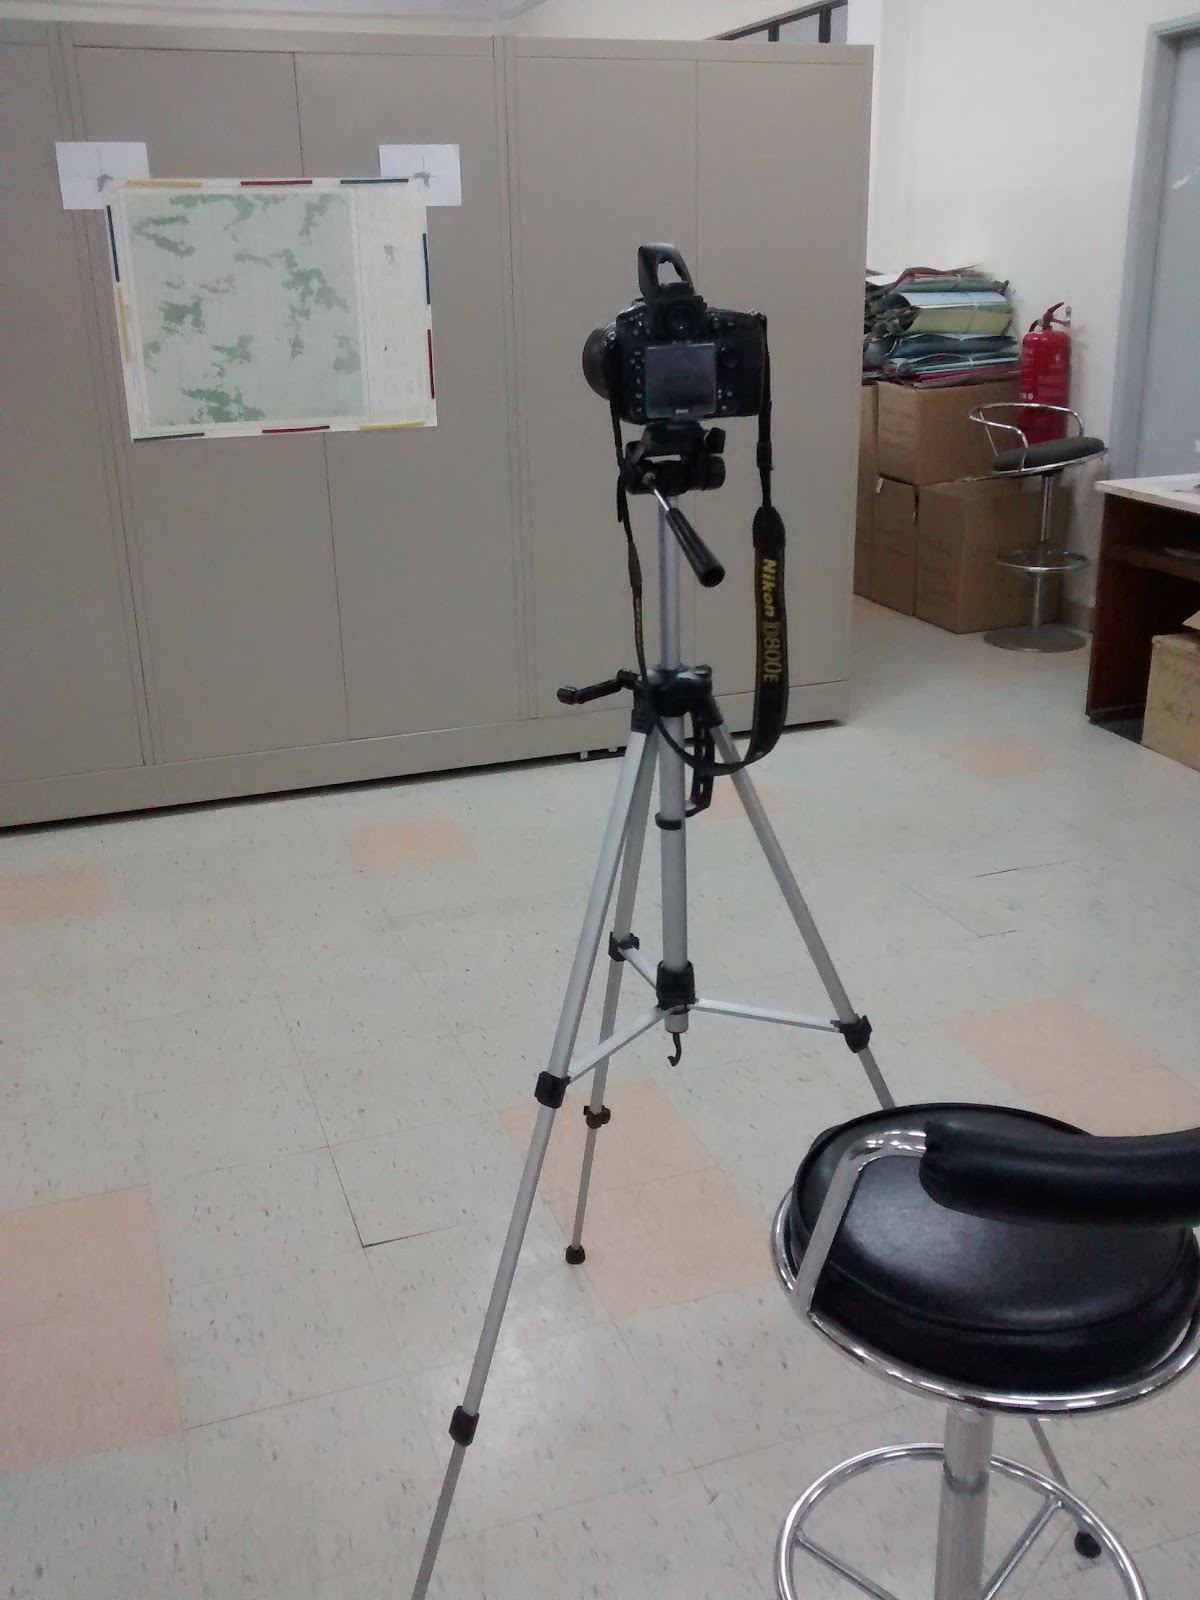
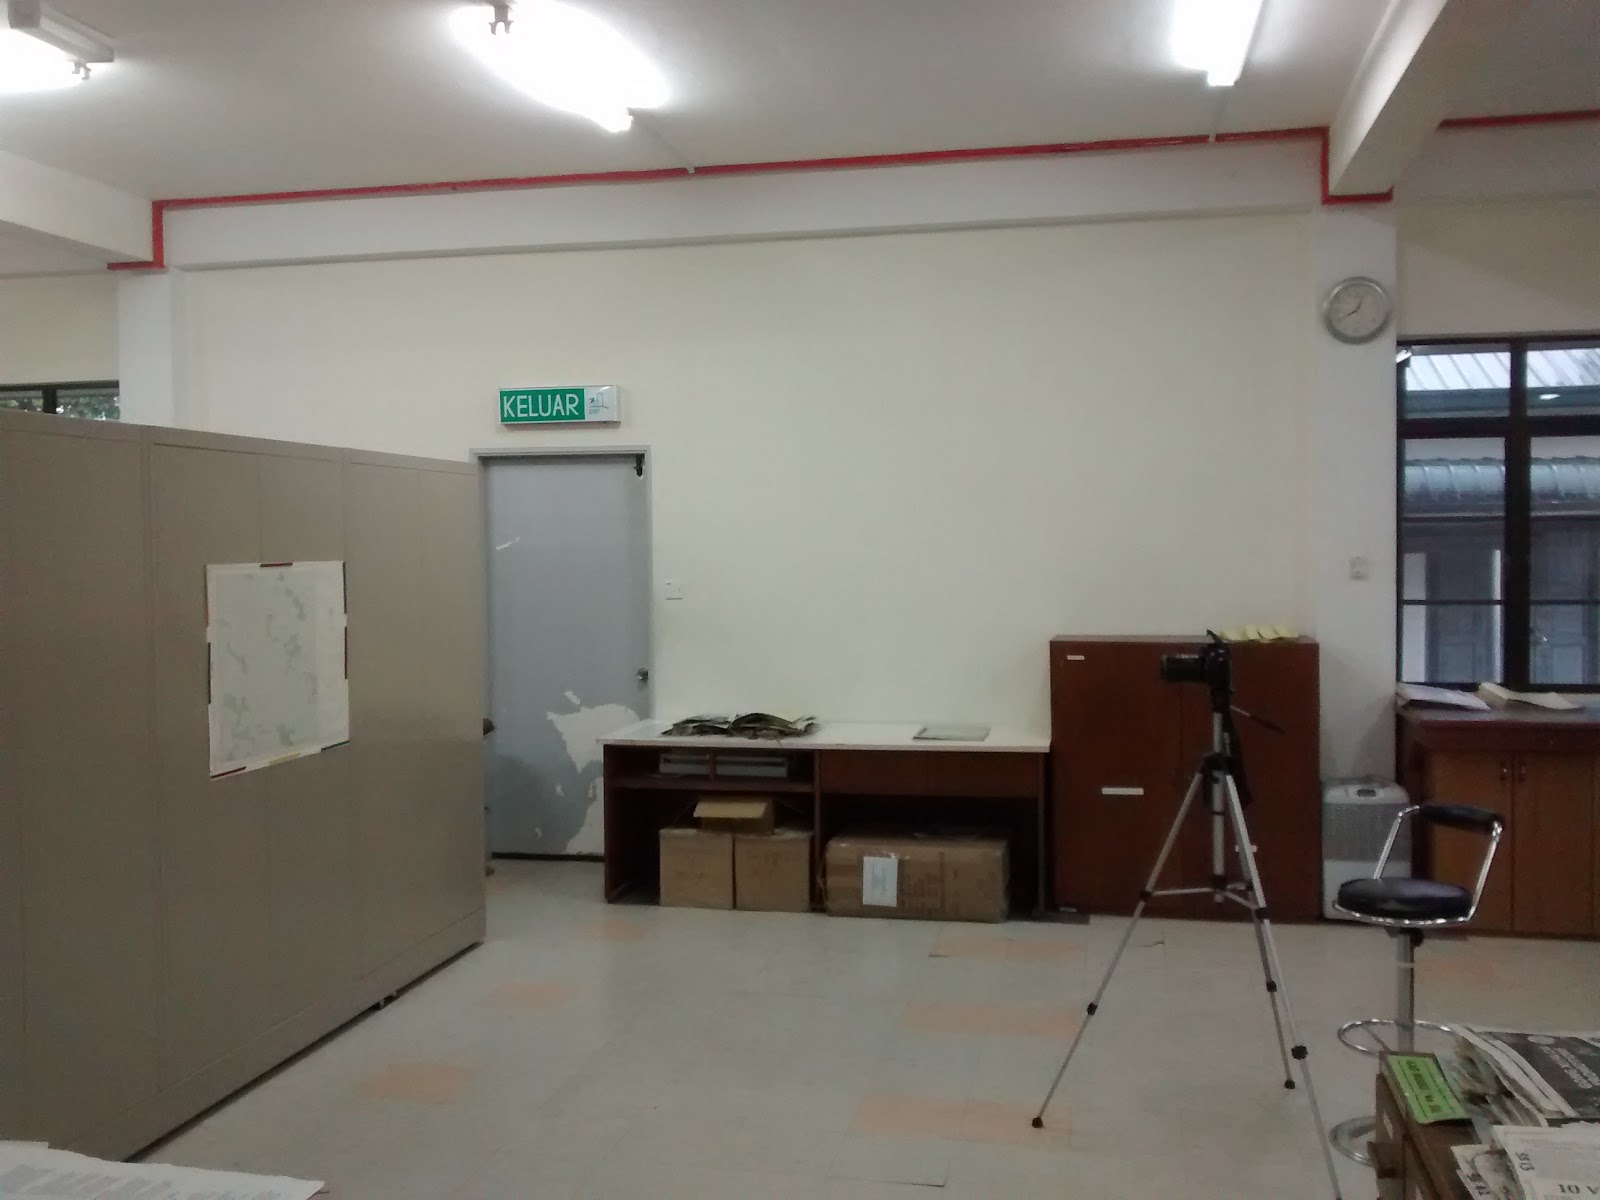
Images above: Note the height, distance, angle and lighting.
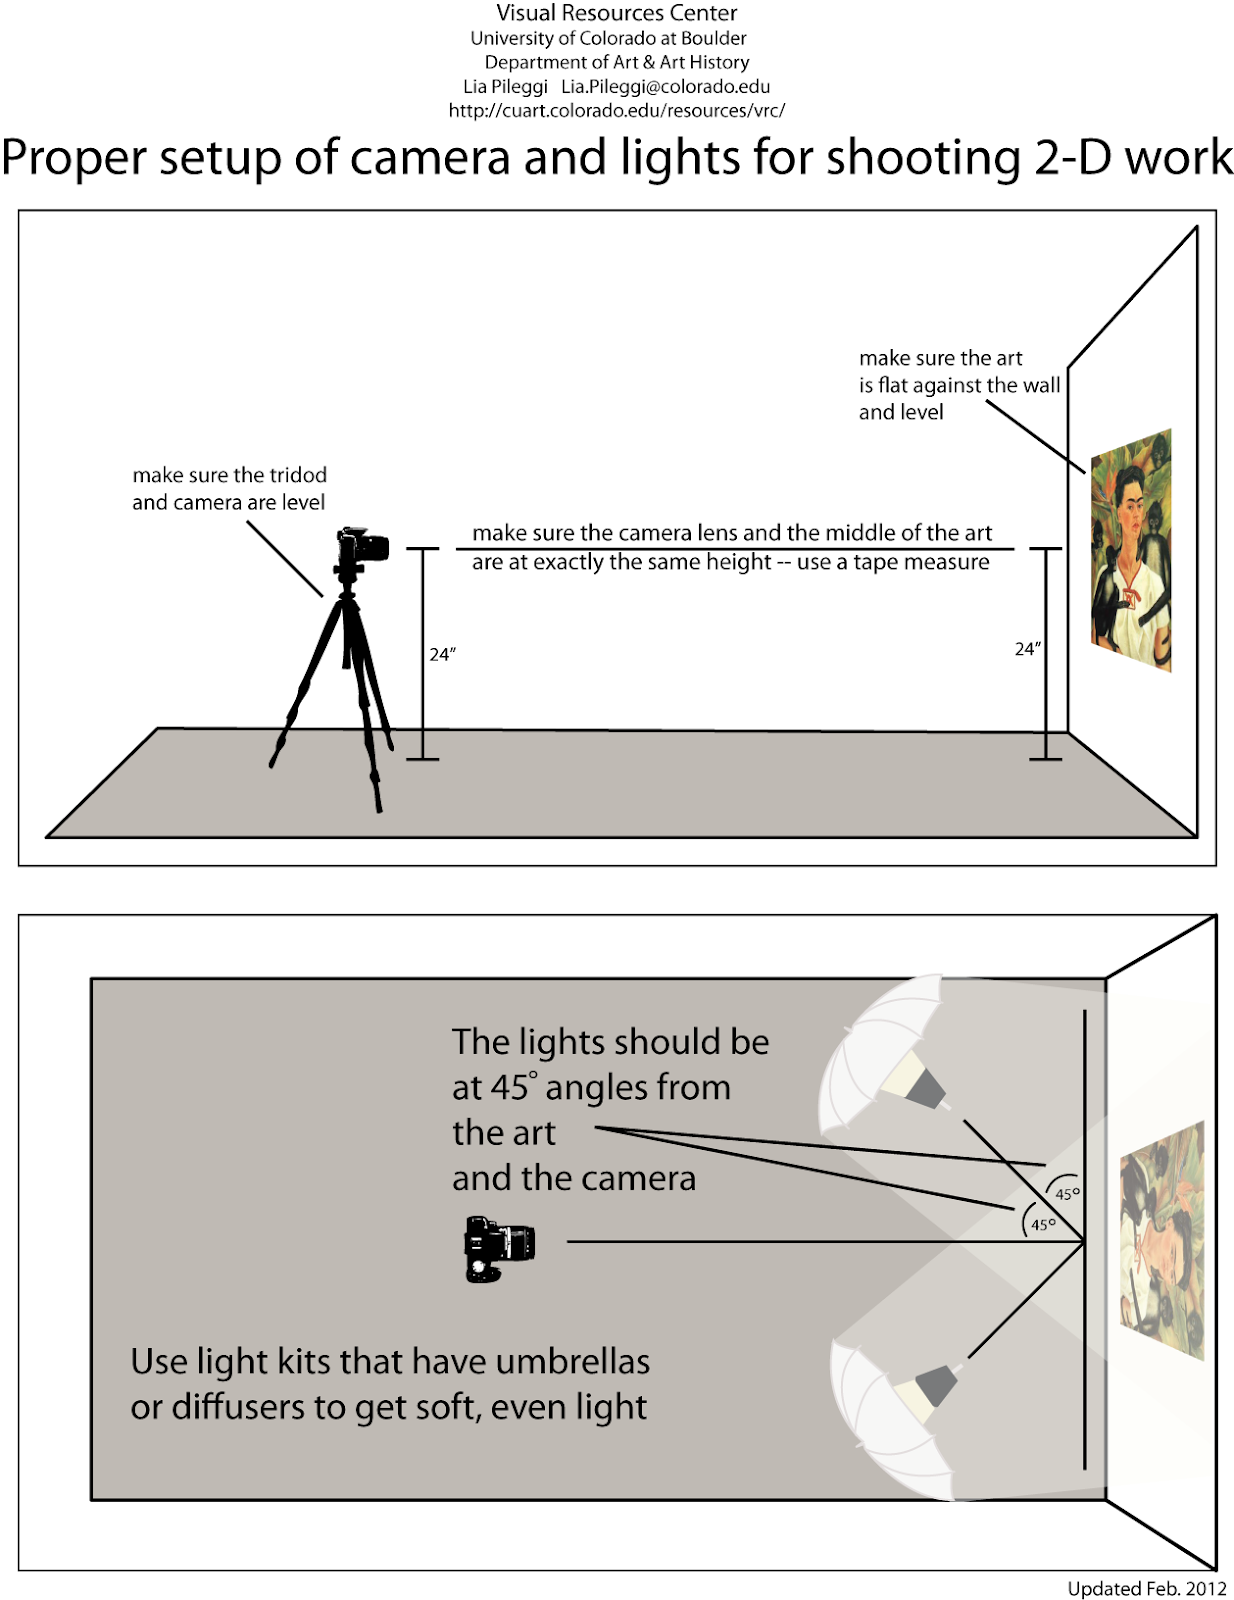
Next are some pointers from University of Colorado (credits to them):

No comments:
Post a Comment